Claim Overview page
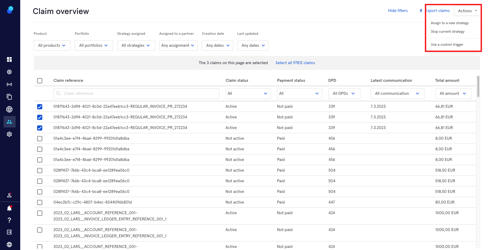
7The Claim Overview feature will allow you to filter and access a specific claim, as well as export selected claims, assign them to a new strategy, stop the current strategy and use a custom trigger. Let's take a look!
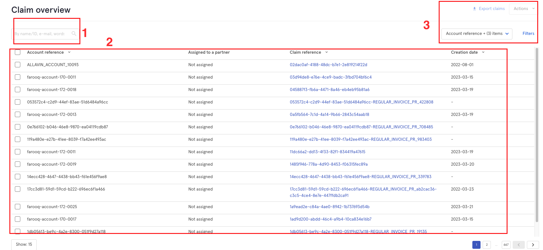
Claim overview page
Once inside Claim Overview you'll find:
- A search box where you can search by Name, ID, email, words...
- A list of the current claims in the system (depending on what you choose in the columns dropdown there will be more/less information on screen)
- The Filters button, Claims button, Columns dropdown, Actions Dropdown
Columns
By clicking on the column dropdown you can choose which columns and info will be visible.
- Select the columns of your preference or click select all
- Click on ‘apply’
These columns will allow you to show on screen the following:
- Claim reference
- Debtor reference
- Account reference
- DPD
- Total Amount
- Last updated
- Assigned to partner
- Claim status
- Creation date
- Latest Strategy Communication
- Portfolio
- Product
- Strategy Assigned
Filters
The filters will allow you to be more concrete when gathering information. To start using the filters:
- Click on the filters button
- Choose the filters you’d like to see by clicking on ‘Add filter’ and selecting from the dropdown
- Click ‘Apply’ to proceed or ‘clear’ to undo.
Please note that there are 4 default filters which you can remove by clicking on the 'x’
- When selecting from the filters you can:
- Click on 'apply'/clear in the selected filter to display/clear the selection.
-
- Click ‘apply’ / ‘clear all’ on the top right to display the selection made in each of the filters/clear all the filters at the same time.
When using the Claim Reference, Debtor Reference, Account Reference, Product, Portfolio and Strategy Assigned filters:
Click on the dropdown. From here you can either:
- Use the Search box
- Select all
- Choose a specific Product/Portfolio/Strategy etc
- Choose more than 1 specific Product/Portfolio/Strategy etc
- Click Filter to apply the filter or
- Clear to cancel your selection
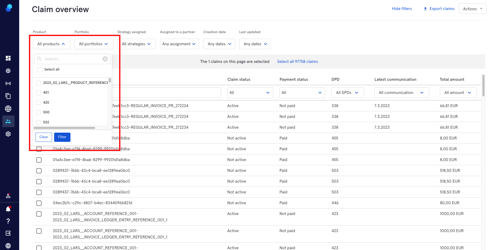
Example:
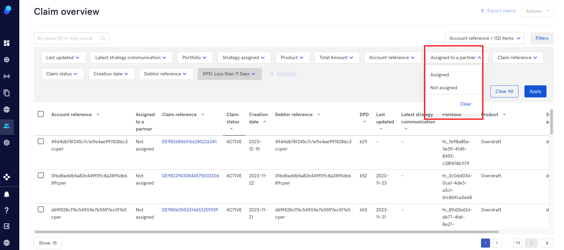
When using 'Assigned to a partner' choose from the dropdown:
- Not assigned
- Assigned
When using the Creation Date and Last Updated filters:
- Select a date from the dropdown or
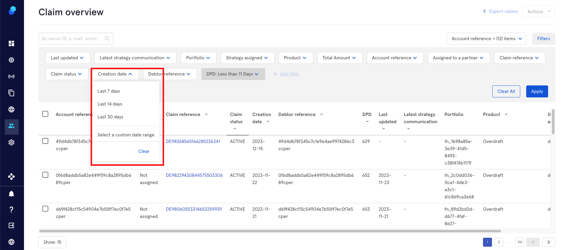
- Select a custom date range:
a. Select the first day of your date range and then,
b. Click on the last day of your date range.
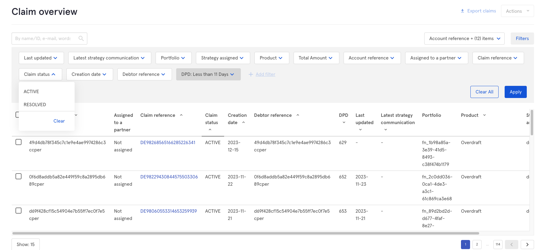
When using Claim Status, you can select:
- Active
- Resolved
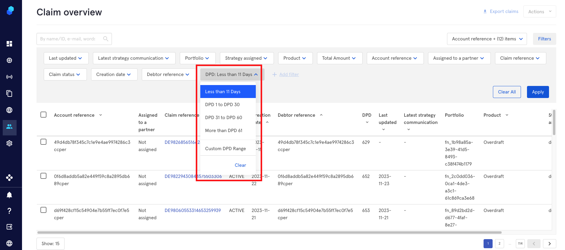
The DPD filter will allow to filter by:
- Less than 11 days
- DPD 1-30
- DPD 30-60
- DPD more than 61
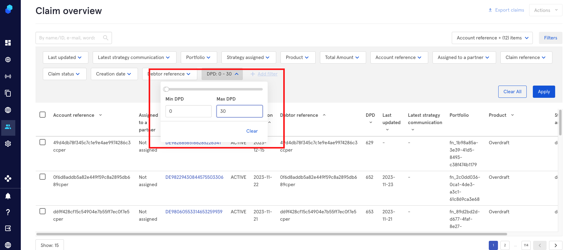
- Custom Date range
- Add a date range
- Click Clear to undo
The Latest Strategy Communication Filter allows you to choose between:
- Last 7 days
- Last 30 days
- Last 60 days
- Select a Custom date range
- Click Clear to undo
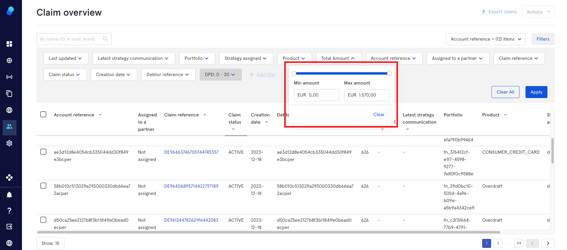
The Total Amount Filter:
- Add min and max amount or use the bar to set it up
- Click Clear to undo
Bulk search using the Claim reference filter
It is possible to bulk search by claim reference using this filter. Here’s how:
- Enter the claim references separated by a semicolon ( ; )
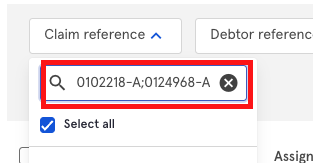
- The references will appear in the dropdown. Click on ‘Select all’
- Click the ‘Apply’ button on the right
Bulk actions
On the right hand side of your screen you'll find three buttons:
- Export Claims
- Actions Dropdown
Export Claims
This feature will allow to to bulk select claims and export them to a CSV file.
- Select the claims you want to export by clicking on the checkbox you'll see on the left side of your screen. You can also select all the claims if needed by clicking on 'Claim reference'
- Click on 'Export Claims'
- You'll see a toast informing you that the export is in progress
- You'll see a second toast informing you that you can either download the file using the link or go to Dashboard>Reports to download it later
Actions dropdown
By clicking on the Actions menu on the top right you can:
- Assign the selected claims to a new strategy
- Stop the current strategy for the selected claims
- Use a custom trigger
Assign the selected claims to a new strategy
- Select the claims by clicking on the checkbox you'll see on the left
- Click on the Actions dropdown
- Click on Assign to a new strategy
- Select the new strategy
- Click Cancel to stop or proceed by clicking on Next
- Click Cancel to stop or click Confirm to proceed
- You'll see 2 toasts:
a. Action will be completed soon
b. Action successful

Stop current strategy
- Select the claims by clicking on the checkbox you'll see on the left
- Click on the Actions dropdown
- Click on Stop Current Strategy
- Click Cancel to stop or click Confirm to proceed
- You'll see 2 toasts:
a. Action will be completed soon
b. Action successful

Use a Custom Trigger
- Select the claims by clicking on the checkbox you'll see on the left
- Click on the Actions dropdown
- Click on Use Custom Trigger
- Select the custom trigger
- Click Cancel to stop or click Next to proceed
- Click Cancel to stop or click Next to proceed
- You'll see 2 toasts:
a. Action will be completed soon
b. Action successful