Email Builder - Creating an Email
Step-by-step instructions on how to create an email using the receeve platform
Create an email
To start, we'll go to Content > Email Builder and click on 'Create Email'
- A modal will open up. You can either click 'Build from scratch' or select one of the pre-build templates.
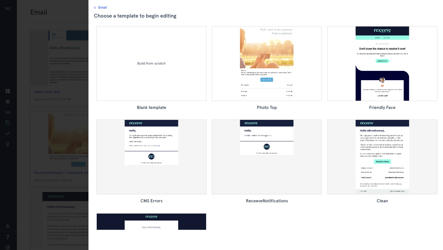
- We will build an email from scratch. Enter a name for the email template and click on 'Continue'.

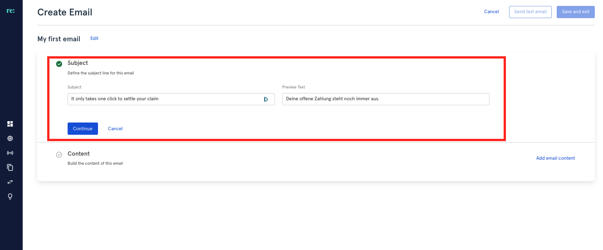
- Fill in the subject line and the preview text of your email.
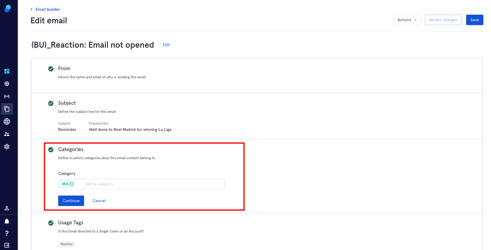
- Categories: You can add or create a category here. For more information
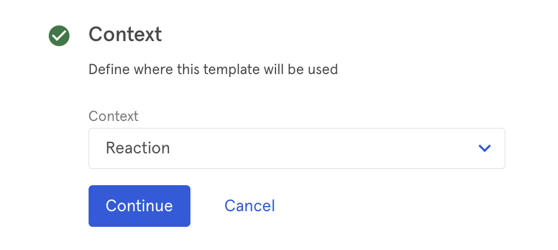
- Context: Choose a specific pre-defined context for your message. You can choose between the Account Manager, the Strategy Builder or Reactions. Please note that:
a) The configuration screen of the features listed above will only show templates created within the context. Eg: if you're in Reactions, only the emails created within the context 'reactions' will be available.
b) There are general, optional and context-specific placeholders. Eg:{{firstName}} is a placeholder you can use in every context while {{reaction.clientId}} is context-specific (reactions in this case).
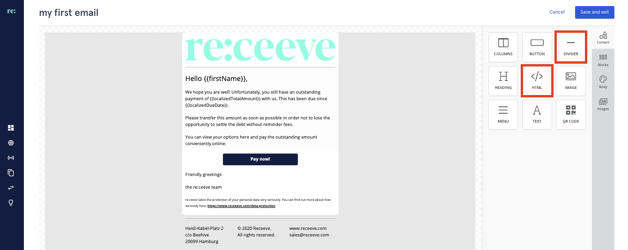
- Content: Once you click here the editor will open up.
At this time it is a good idea to know in broad strokes what your email should look like. A good and simple pattern to follow is:
- Logo
- First Paragraph
- Button
- Closing Paragraph
- Footer

- Once you have decided on your layout use the blocks on the right-hand side to assemble your layout in the email builder. To do this:
- Click on 'Blocks'
- Drag and drop the blocks onto the email
- Now go to 'Content' and drag and drop the content elements onto the blocks.
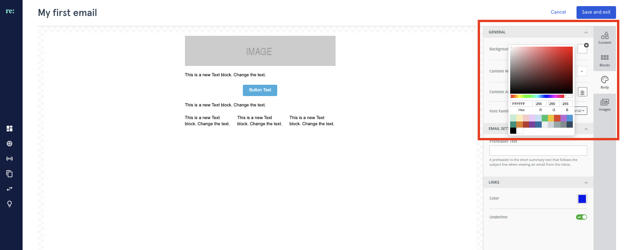
- You might want to change the background color of your email. It is best to do that now before you go into the content design. Go to body>background color to change this setting:

- If you want to change the background color of your content area, click on the right-hand side of the column whose color you want to change. Go to 'Column Properties' and change the background color.
For more information on colors and images please read this article.
- Now, we are ready to enter our email content. To upload an image:
a. Click on the image content block, click to upload the image or drag-and-drop your image to the marked area or
b. Copy-paste the image URL
We recommend using files with the format .PNG or .JPG (.SVG-files often don't work in emails)

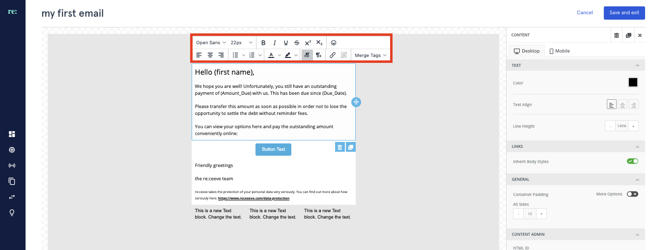
- Next, you can enter the text you'll be using in this email. Click on the text block, enter your text and use the context menu to format your text.
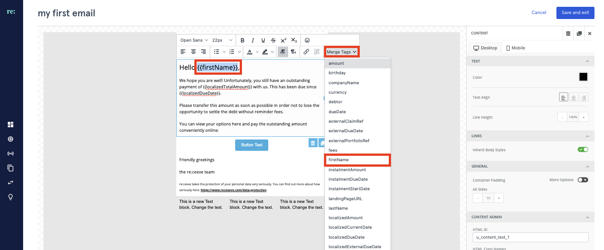
- Now, we want to replace the static text with dynamic placeholders. To do this, mark the text you want to replace, click on merge text and select the tag that represents the data field you want to insert.
➡️ To prevent errors when sending communication due to missing values in some of the fields used as placeholders, it is recommended to add a conditional placeholder.
How to add Conditional Placeholders?
Let's use an example:
Say, some records in the database do not have a last name. Instead of applying the placeholder as
{{last name}}
Use the following structure:
{{# if last name}}{{last name}}{{/if}}
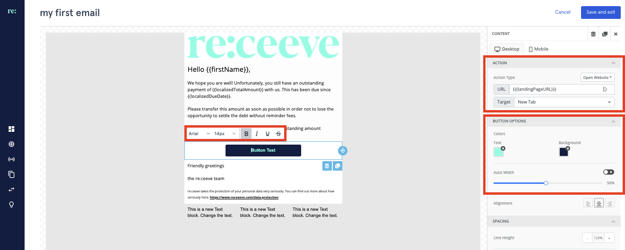
- To change the text on the button, click on it and use the context menu to make changes.
In action put the tag {{landingPageURL}} in the URL field. This will be replaced by the landing page URL of the claim.
To change button size, background color and text color, use the button options right-hand side menu.
- To finish your email you can use HTML to add round corners or add dividers. Please find more information on advanced features here.
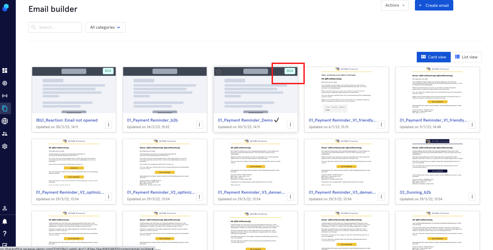
Categories
This feature will help you keep your emails organized. Let's suppose you'd like to group some of them per country, or any other characteristic. This is the process you'll follow:
- Select the emails by clicking on the checkbox you'll find on the top left of each thumbnail.
- Click on the actions menu
- Select 'Assign category to selected'
- Choose category from the dropdown or
- Create a new category

The thumbnail will now display the category (top right).
You can also delete/add a category while editing your email.